

Over the Easter weekend we spent time at Chulumna with my sister and brother in law. My Dad stays in a little cottage a few hundred meters away surrounded by pecan trees. He had gathered up a generous bag for me to take home. I had been gifted with Canadian maple syrup by my neighbour down the road to say thank you to me for keeping an eye on her home whilst she was away visiting her family in Canada. I really wanted a special recipe to use this precious rich golden syrup for and of course the special hand-picked-by- my-Dad pecans.

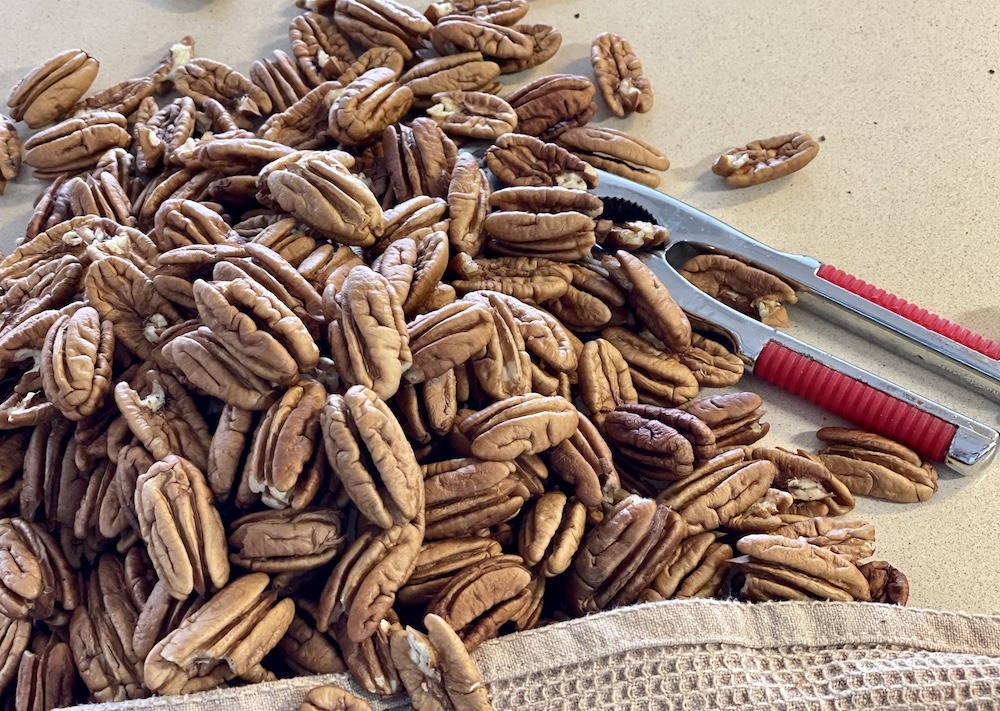
There are nuts to crack
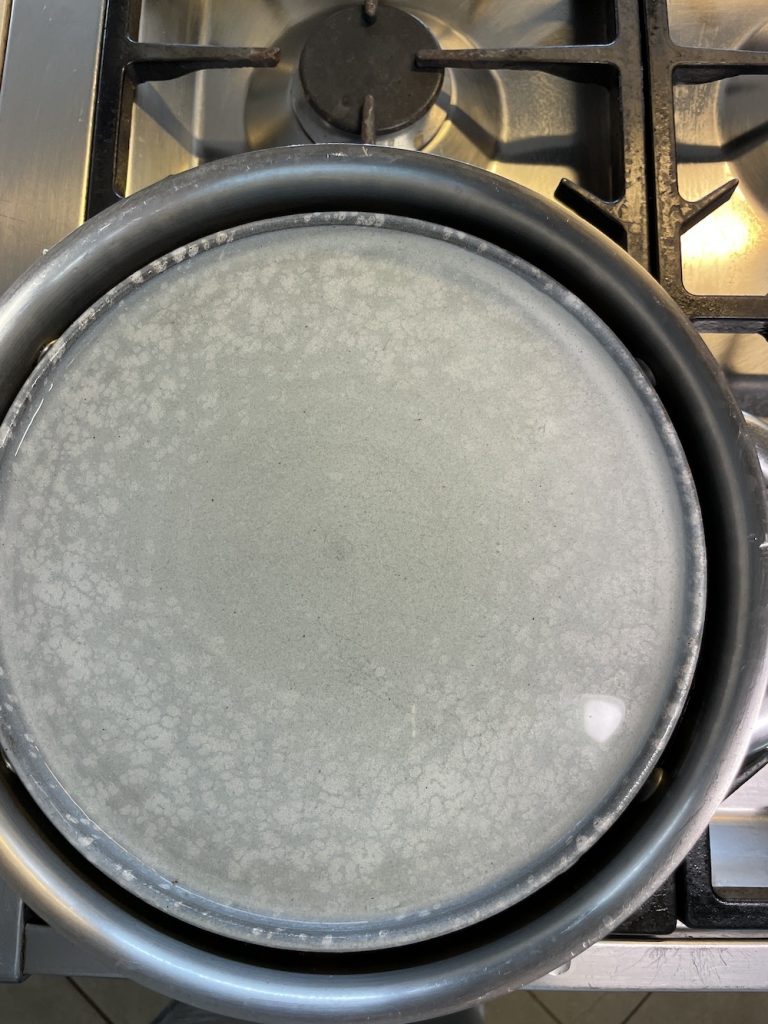
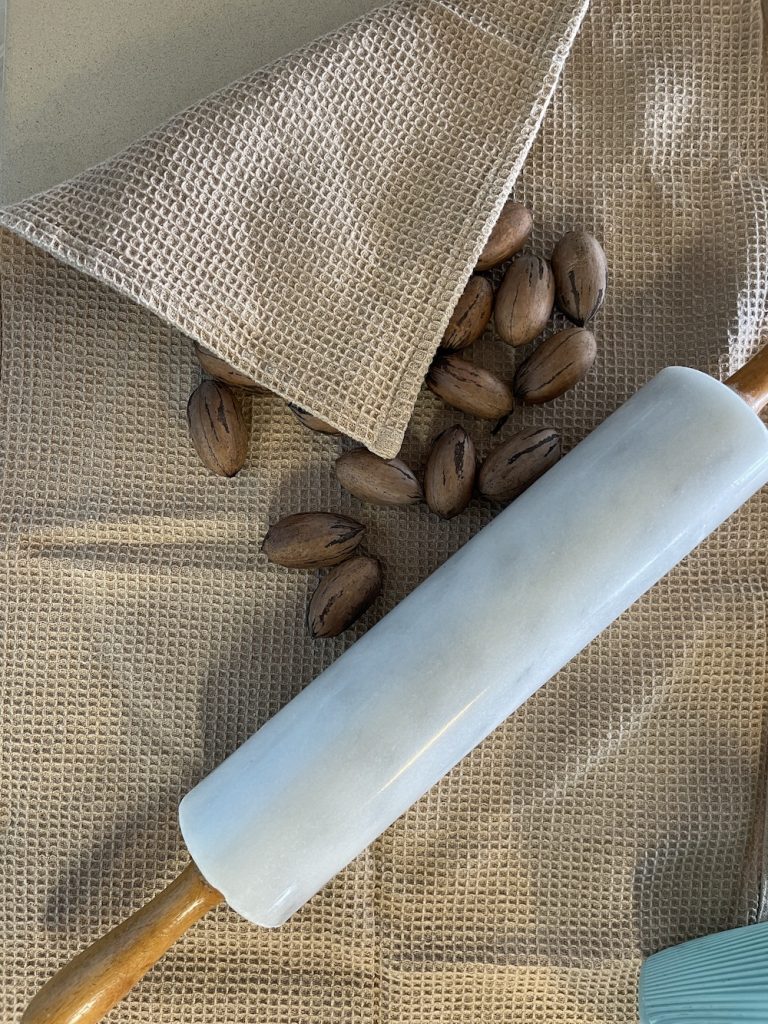
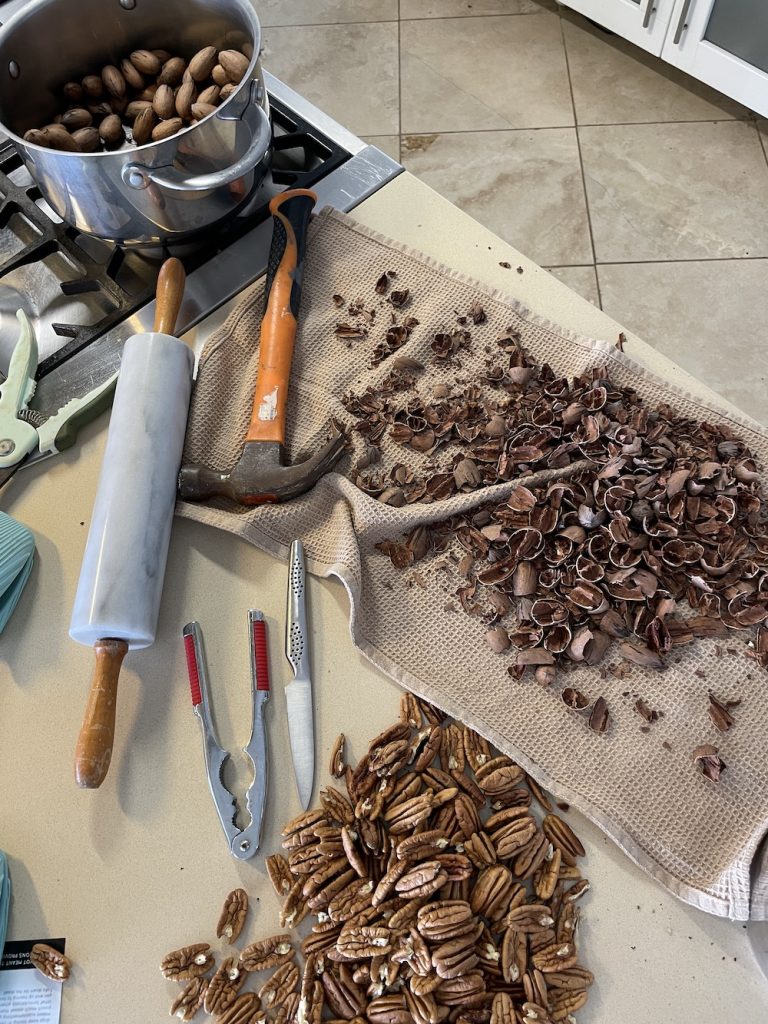
It’s a business cracking nuts and I wanted to crack them with love and patience. I put them into a big pot of water and set them to boil for 15 minutes, adding a plate to weigh them down so they remained under water and not floating to the surface. I drained them and placed a cup of them on half a towel covering them with the other half of the towel. I used my marble rolling pin to crush them. I was tentative because I needed enough force to crack the shells but not too much to crush the soft nut inside the shell. I then used my fingers to peel back the shells trying to ensure I kept the nuts whole. For some reason I wanted the nut to stay in its original shape sans shell. I very quickly realized I’d be here for hours if I continued in this way. I grabbed hold of my good old nut cracker and used that to do the job and again it just wasn’t efficient and effective enough for my liking. A hammer ought to do it, I thought so off to the garage I went. This ultimately is the best tool to use.


There is a seam that runs through the nut from tip to tip. There is a pointy tip and a blunt tip. Start on the blunt tip side, locate the seam and start cracking there, rotating the nut until you have gone around the entire circumference of the nut. A “cap” of cracked shell should be what you are looking for. Turn the nut and repeat on the pointy tip side. You now have two end caps that can easily be removed. Gently crack the middle section and the shells will easily pull away. Wielding a hammer is not a regular thing for me, so I took time to be confident in the amount of force that was perfect. I found the first crack at the nut could take a more forceful crack to get the process started. In fact the ends tolerate a little more force. A more gentle tapping around the belly of the nut was applied to ensure the nut stays intact. Some flesh of the nuts stuck to the shells more stubbornly than others but mostly they came out with ease.
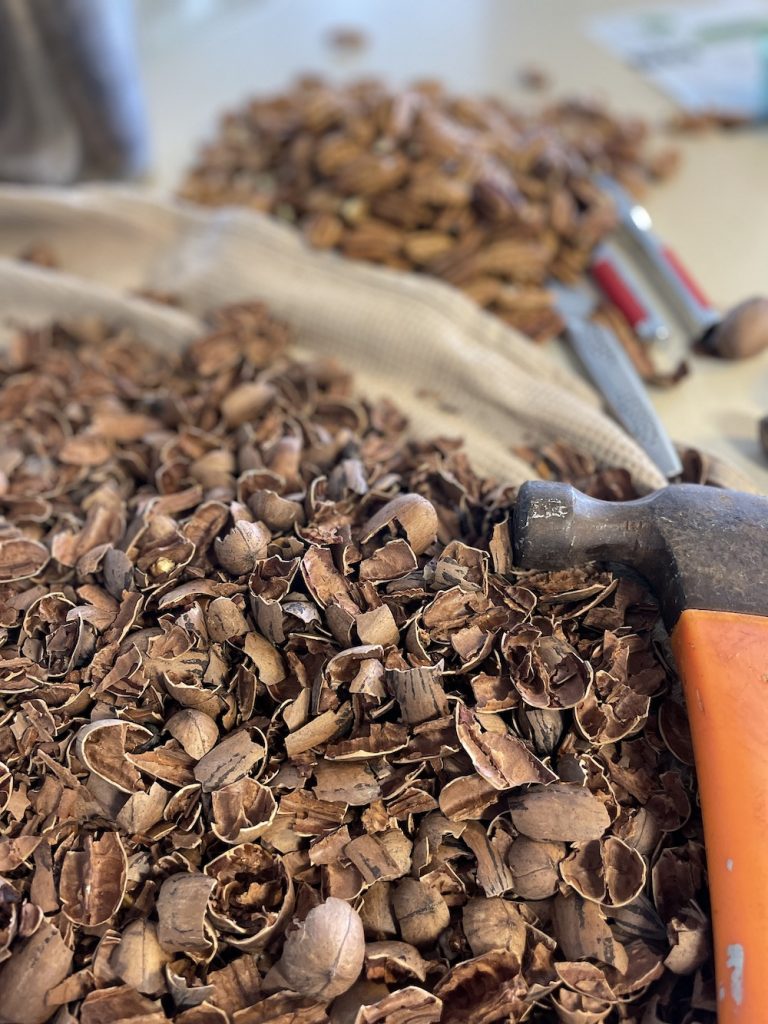

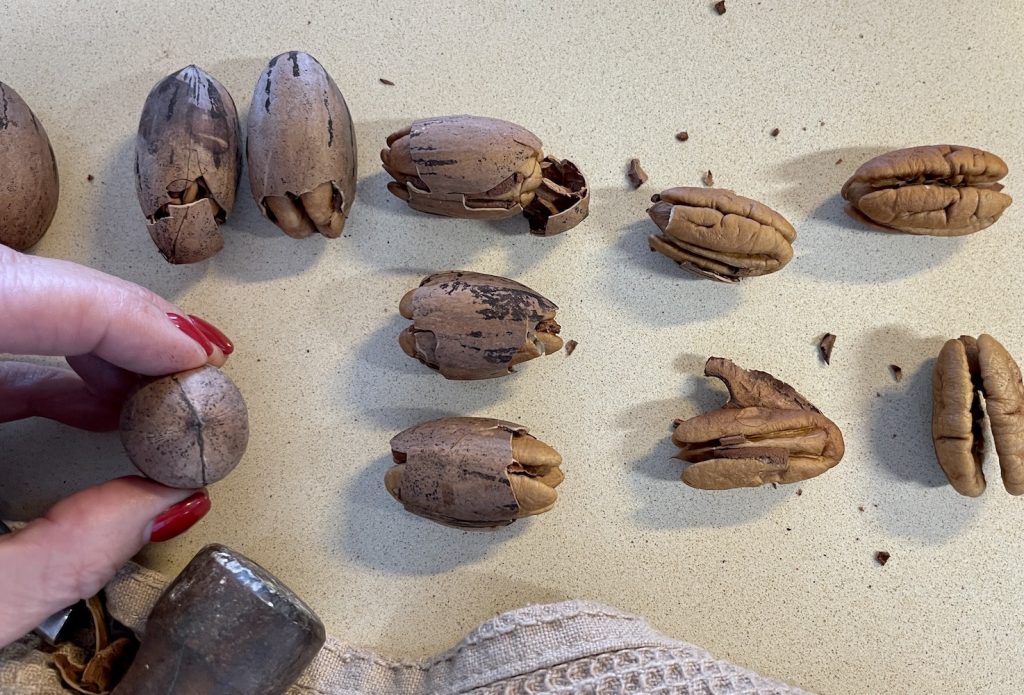
The important thing to remember is making sure no shells land up with the nuts. Also make sure to remove the inner pithy skin that sticks to the creases of the nut. This skin is softer than the shell and almost papery in texture and quite bitter. You don’t want that in anything you bake. Use your senses to judge whether the nut is good or bad. Some of the nuts that I cracked were definitely not good enough to use for baking. I discarded them. Use the shells as compost for your flowerbeds.
Alternatively just go out and buy a bag of pecan nuts and never complain about the price of nuts again 🛠️⚒️🔨🌰🥜
The Chulumna Pecan Pie obviously had to be enjoyed at Chulumna, the source of the pecans. We were invited back to stay for the Mother’s Day weekend in May. Here’s what I created from my hard labour of shelling the Pecans.


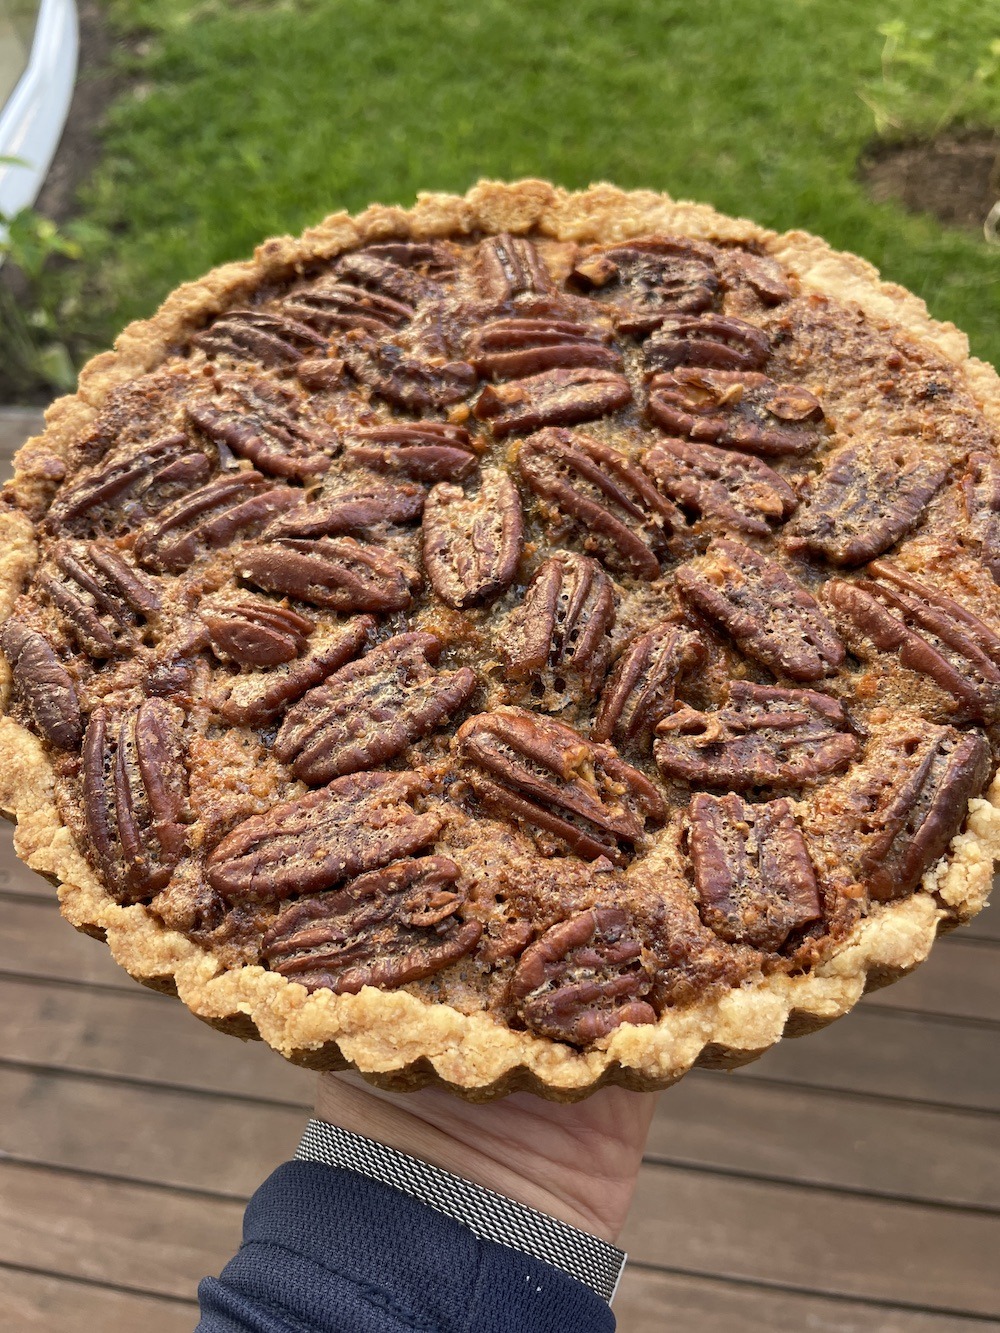
Chulumna Pecan nut pie
Ingredients
Pastry case Yield 680g enough for 1 x 20cm and 1 x 25cm pie cases
- 320g cake flour
- 210g butter cold cubed
- 1/4 tsp fine salt
- 3 Tbls castor sugar (50g)
- 100g cream
Maple Pecan pie filling
- 300g shelled pecan nuts
- 4 XL eggs beaten
- 215g brown sugar
- 1/2 tsp salt
- 60g melted butter
- 350g maple syrup
- 1 Tbls flour
- 1 Tbls lemon juice
Instructions
Pastry Case
- Preheat oven to 160° C fan assisted
- Make pastryMix flour, salt and sugar together in blender with blade attachment. Add cold butter and pulse until pea size crumbs form. Add cream 25g at a time until dough comes together and is not be too sticky
- Butter baking pans, I used a 20 cm fluted pan with a loose bottom and a 25cm Pyrex pie dish. The dough yield is about 680g. I used 230 g of the dough for the 20 cm pan and 450g for the 25cm Pyrex dish. Press dough into pans and refrigerate whilst making the filling
Maple Pecan pie filling
- 300g pecans (2 min in air fryer at 180° C cooled brings out nutty flavour) folded in at the end or distributed evenly on the bases of the pastry cases. Add more nuts to the bigger pie dish when sharing between the two pies.
- Mix the flour into the melted butter to ensure an even mix. Now add all the filling ingredients to a bowl and mix gently together. DO NOT BEAT. FOLD NUTS IN
- Pour into pastry bases and bake in preheated oven at 160°C, covered with tinfoil for 1 hour, remove the foil after about an hour and back for a further 15 minutes. Cool for two hours before cutting the serving with cream or ice cream. Will keep in the fridge for up to 4 days. Alternatively you can freeze it and bake in the oven from frozen for 20 minutes at 160°C.
![Chulumna Pecan Pie]()

Was so pleased to find this recipe as I live at Kaysers Beach. Weighed the ingredients (remembering to halve the ingredients for just one pie!). Dry run for book club next week. Baked in an air fryer combo oven. Great result. Thank you!
I am so pleased it worked well for you Lyn, thank you for your feedback, I really appreciate it