Bread
I’ve asked myself, “Can I LIVE WITHOUT BREAD?” and my answer every time is no. The most comforting food for me to eat is bread. It’s no wonder I went on a massive journey to learn how to make sourdough. Surprisingly it started before 2020. That year when all one saw on media platforms and gateways into foodie euphoria was how to make sourdough, oh, and banana bread.

My journey started when a friend gifted me with a portion of her sourdough starter. I didn’t have the time or the wisdom to be able to care for it and it landed up never getting fed. I then followed a baker in Ireland, Patrick Ryan from Firehouse Bakery. He has a Masterclass and shared how to build a sourdough starter from scratch. Charlie was born and he was great for a while, but life got hectic and I was more enamored with other distractions.
Fast Forward to Lockdown 2020 and I decided to try again. Here Motherdough were advertising a stable and strong 101 year old Alfonsina Motherdough. I paid the price and my package arrived a few days later. Little did I know the journey ahead of me. I named my boy Rusticus and he is still alive today.
I am not going to teach you any of this here. If you are interested, the links provided will give you an idea of what’s involved and the road you must take to get to my recipes. I have created my own in these past 3 years. I have had many alternative looking loaves that turned into flat breads because of some or other “mistake” I had made.
The road to successful sourdough baking is long and arduous and I know it is definitely only for a few souls willing to give the time and effort through the process. Many a time I have been asked to bake loaves, and my answer is that I can’t sell it. Each loaf is very special to me and each and every one is unique. I also do not have the facilities to bake in large quantities that make for a viable business. This is a labour of love for my darling husband Brian. He eats it every day and we just can’t imagine buying bread anymore. I know what goes into my loaves and that extra little bit of magic is made up with love.
If you are interested in sourdough bread baking, I would really love to hear from you. For me it was a challenge that I absolutely loved and still do. It was a lonely road of self-teaching and I got there eventually, but I certainly stumbled along the way. I am thinking about teaching a bread baking course, but It’s a tiny seed right now as I have so much else I want to do first. In the meantime if you are already baking with a sourdough starter you will appreciate this recipe. It assumes you know how to feed your starter, because that’s what you will need to start. I also assume you know the language and jargon so that I don’t need to take the time to explain that here. Enjoy this bread
Here’s a video of me shaping and baking my 2 loaves of sourdough wedding bread

Sourdough Bread
Ingredients
- 250 g Fed sourdough starter and ready to bake with after double in size – or equivalent starter for 500g total flour
- 375 g stone ground bread flour
- 125 g wholewheat stone ground flour
- 375 – 425 g water 310g and 115g 85% hydration
- 12 g salt
- 65 g pecan nuts you can toast them cool and chop or just use halves ready to go. Both work
Instructions
- Feed starter in the morning. After 4 hours (winter) Rusticus , my sourdough starter is ready to mix. Rusticus grows faster in the Summer, it can take 2 hours for him to double in size.250 g Fed sourdough starter and ready to bake with after double in size –
- Cut starter into chunks and add water let it sit for 15 min. The starter should float in the water and you will know it's ready for the next step.375 – 425 g water
- Add flours and salt to a separate mixing bowl and whisk to ensure an even mix.375 g stone ground bread flour, 125 g wholewheat stone ground flour, 12 g salt
- After 15 minutes blits the water and sourdough together with a stick blender until frothy
![]()
- Pour the sourdough water mix into the flour mix and using a wooden spoon or spurkle mix together.
![]()
- Cover and leave on counter for 4-6 hours.
![]()
- Then put in fridge overnightThe next morning tip dough onto floured work bench sprinkle with pecans and shape.
![]()
- Place in bannetons ( I scaled my recipe to get two loaves here by 1.5)
![]()
- Cover with a shower cap and leave for second proof.
![]()
- When ready to bake put the oven on to 250℃ and place a dutch oven with lid on inside the oven to heat up.
![]()
- After 45 min the oven should be at temperature. Have about 6 ice blocks at the ready. Turn the loaf out onto baking paper sprinkled with rice flour. Score the loaf and gently place into hot dutch oven. Add the ice blocks to the pot behind the paper place the lid on quickly to trap in the steam. Turn the oven down to 230℃ and bake for 30 minutes.
![]()
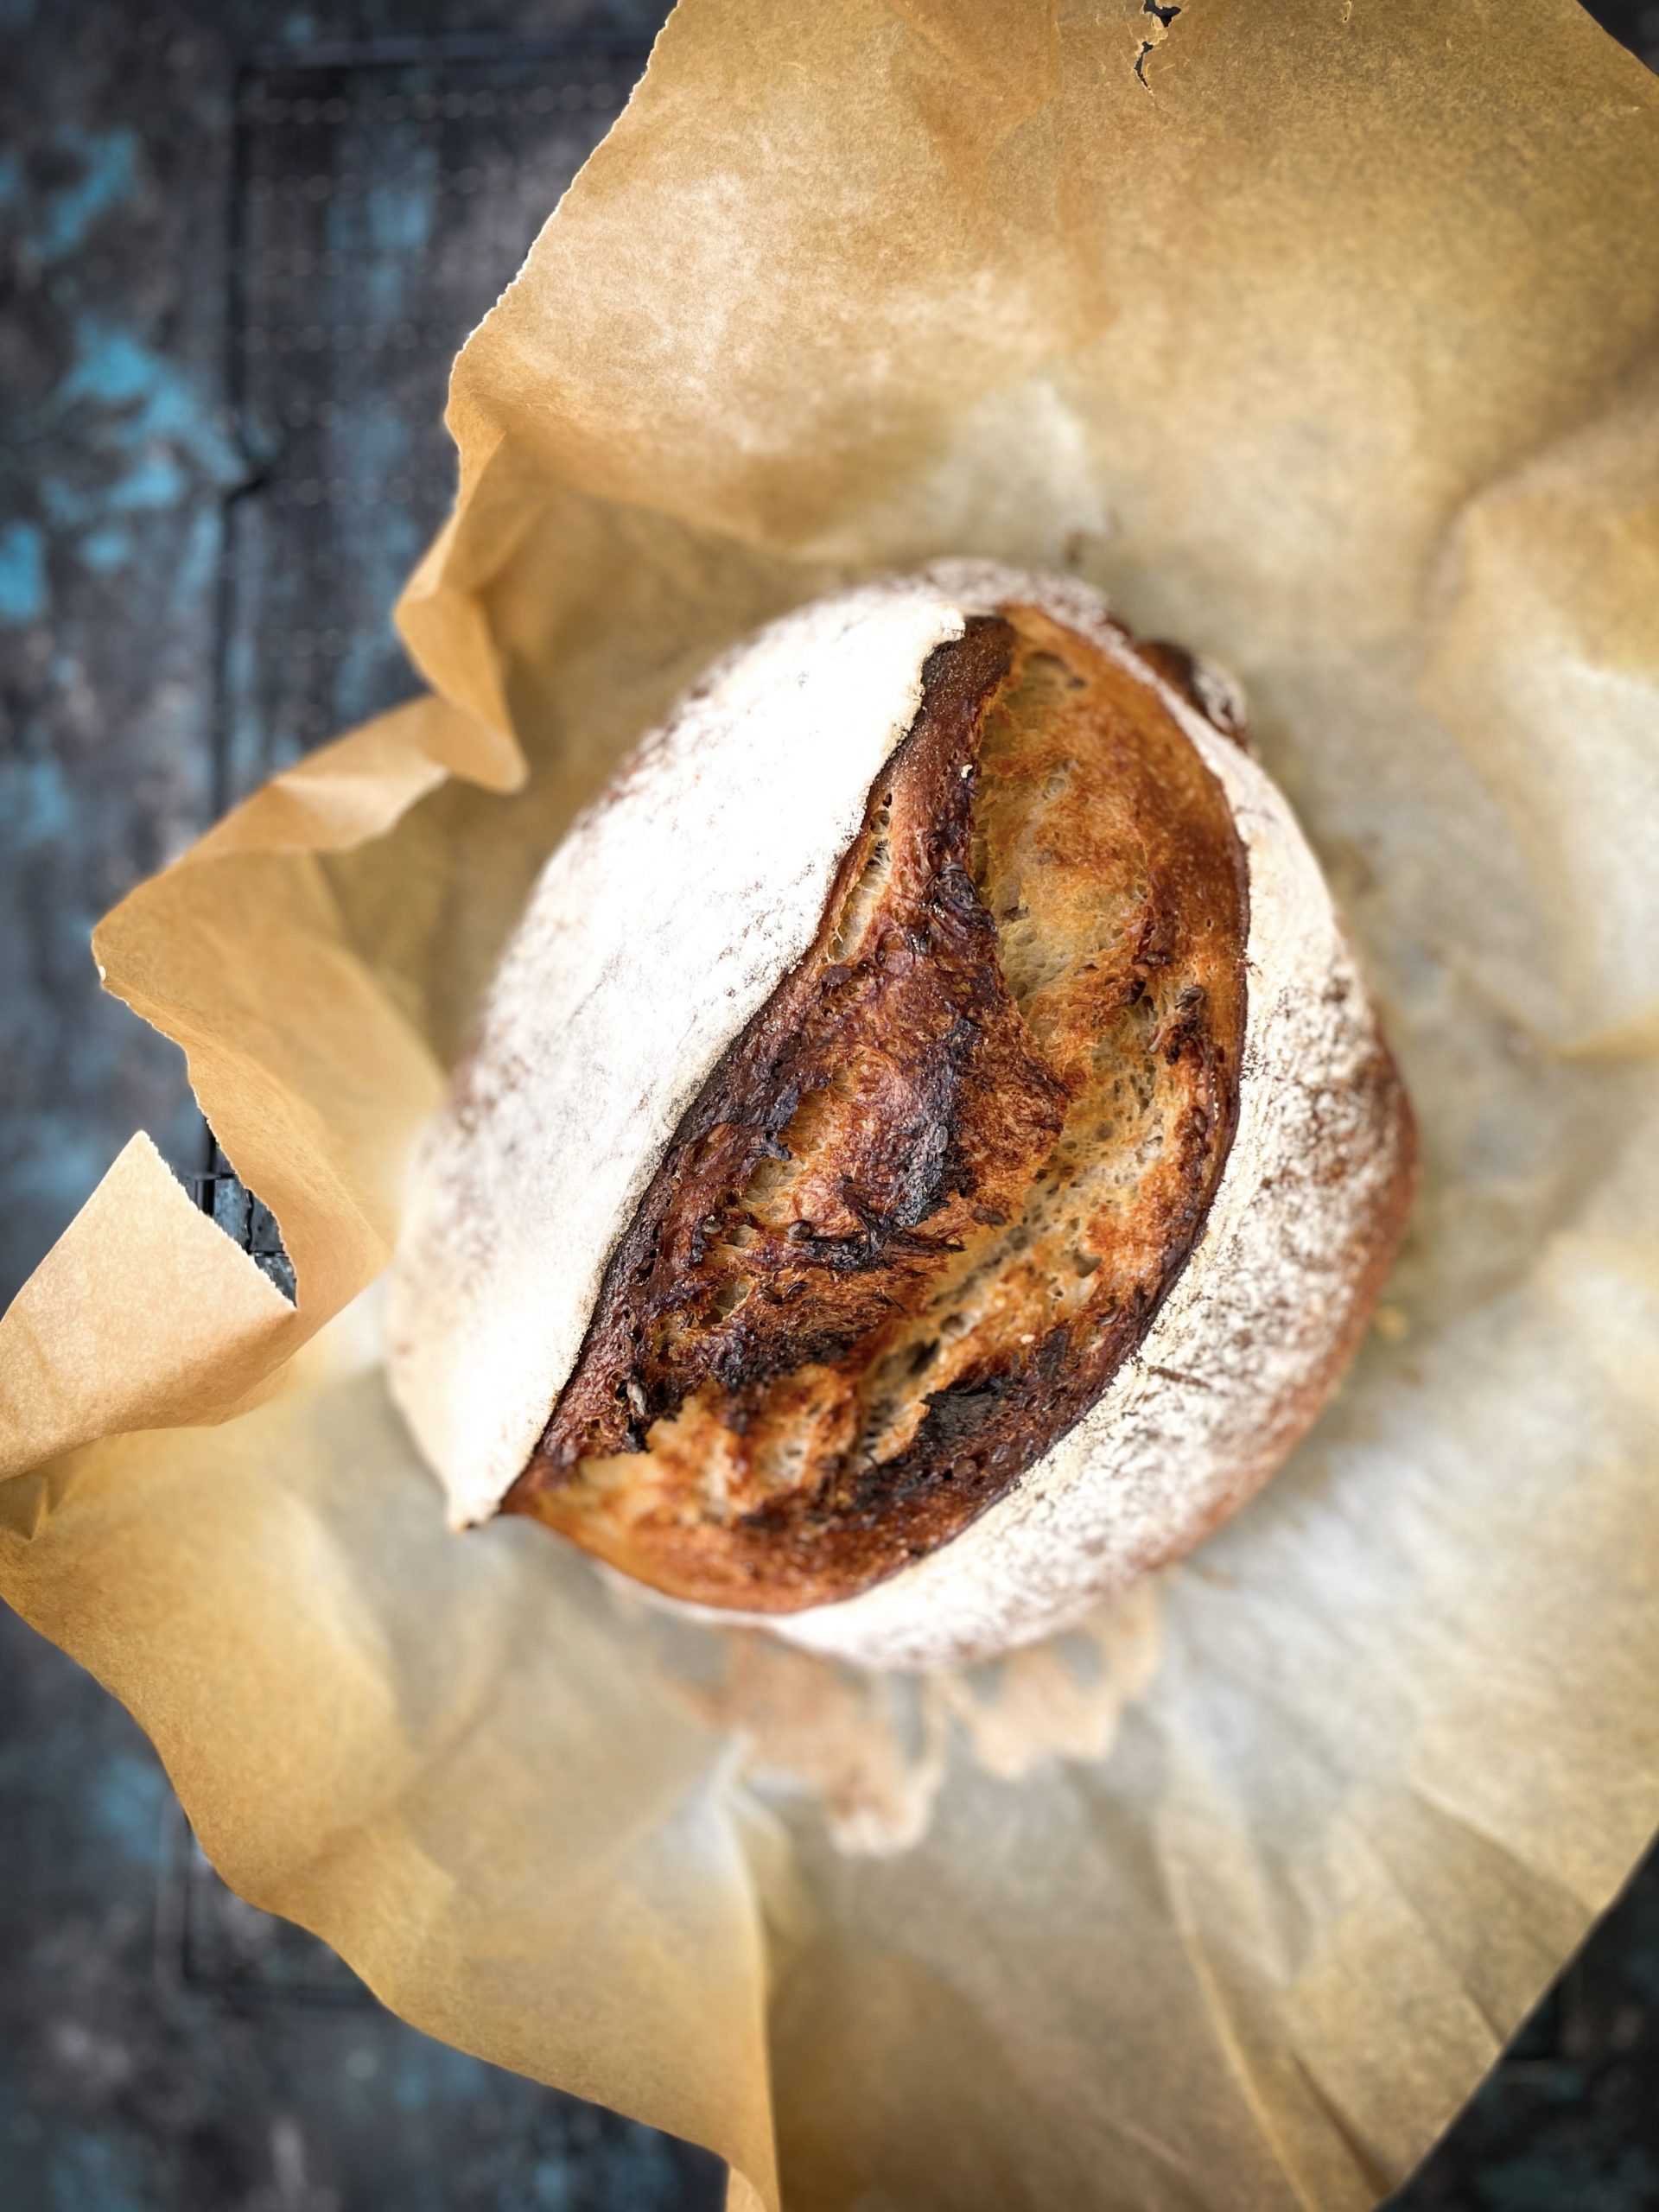
- here I have scored to loaf
![]()
- Remove the lid, this is what the loaf looks like after 30 minutes. If yours gets too brown turn your oven down to 220℃
![]()
- Bake for a further 25 minutes or until the base sounds hollow when tapping on it.
![]()
- Place on a wire rack to cool for 1 hour at least. This give the crumb time to settle. It's a very important part of the process and should be followed, which is very hard to do when the smell of fresh bread is wafting around your kitchen.
![]()


